If you are a tech geek, you own way too many gadgets. And not all of them have protectors because, well, who can afford gadget protectors when they have ten more gadgets on the must-buy list? Don’t worry, though. You can make your own gadget protectors. Here are a few ideas to get you started.
Smartphone Screen Protector
So your smartphone’s manufacturer swears by the toughness of your phone’s screen? There’s still every chance that it will collect scrapes and scratches – particularly if you are the clumsy sort that keeps dropping things. Model-specific screen protectors can be ridiculously expensive – even up to $10 or more. Save up for some of those cool paid apps by making your own screen protectors – for next to nothing. Pay your nearest fabric store a visit and ask for their thinnest clear vinyl. A few bucks should get you a whole yard, so you will have plenty left over for when your screen protector needs replacing. Pick up a pair of scissors – the sharper the edge, the better – and cut the vinyl to fit your screen’s length and width. Carefully trim out holes for your phone’s physical button. You might need to use a precision cutter for this. Once done, apply the film to your phone’s screen and push out any air bubbles from under the plastic using a credit card or something similar. There! You have your very own homemade smartphone screen protector in place!
Tablet Cover
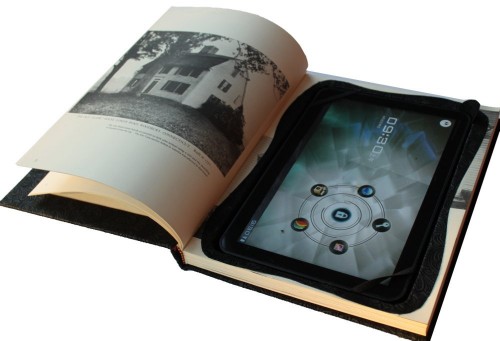
You love your tablet and you would like to keep it safe. But a manufactured cover may very well blow a hole in your pocket. What do you do, then? Do you accept the possibility of scratches and cracks as inevitable? You don’t have to. You can make a substantially sturdy and amazingly cool tablet cover using an old hard-bound book! For starters, take your laptop to your local used books depot. Look for a book about 3-4 inches taller and wider than your tablet, and with a spine that’s about half an inch thicker. Using a sharp knife cut a hole the size of your tablet in the pages of the book. When you get done cutting, apply glue along the cut edges to make the pages stick together. Once the glue is dry, you can simply drop your tablet into the room just crafted. Attach small Velcro strips from the cover to the first page to keep your laptop cover securely shut.
Laptop Case
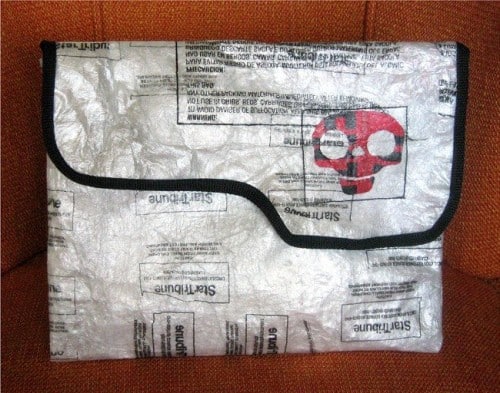
This one requires a fair bit of effort, but planet earth will thank you for it – for it involves effective recycling of plastic bags. At the outset, you need to assemble all the plastic grocery bags in your house, some wax paper, and an iron. Cut off the handles and the bottom seams of your bags. Fold each bag twice over to create an 8-ply layer of plastic and place the folded bag between two sheets of wax paper. With the heat turned at medium, apply the iron to melt the folded plastic bag into one sheet of plastic. Repeat the process till you have about 10 to 15 fused pieces of plastic. Using a sewing machine, connect the pieces to one another to create a long blanket of plastic pieces. Fold this blanket in half, making sure it’s long enough to fit your laptop. Sew up the sides and voila! You have a sturdy carrying case for your laptop. If you want to create a laptop-snuggling liner, cut out some soft fabric in the right size and secure in within your case using a strong adhesive.
Now that you have the ideas, come up with some on your own and create cost-effective and cool protectors for all your gadgets!
 Gearfuse Technology, Science, Culture & More


