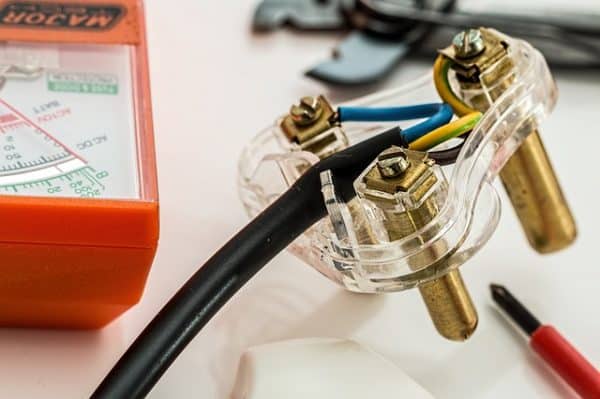
As anyone who works on DIY projects can tell you, having a dedicated space for it is a great luxury. Trying to work on projects on your living room coffee table or at your kitchen table can quickly lead to some frustrations. But if you have a dedicated spot, you can keep all your tools, materials and works-in-progress all in one location, making it easier to complete projects or work on DIY home upgrades. If you’re interested in building your own home workshop for DIY projects, here is what you need to know.

Find a Good Space
First, you need to find a space for your workshop. This will largely depend on your home and what you have available to you. Some options include a basement, a garage, an spare bedroom, or even a shed in the backyard. You’ll want some place that is well lit, and where you can control the temperature. For example, you probably won’t want to put your workshop in a shed outside if you have very cold winters in your area. On the other hand, if you can add a heat source, like a portable electric heater, then this option opens up to you. Take some time to think about where in your home a workshop would fit and allow you to comfortably work on your projects.
Set a Budget
To build your home workshop, you’ll probably need to spend some money. You’ll need things like a work bench, storage containers, lighting fixtures, electric heaters, tools and more. What you need will depend on the types of projects you plan to work on and what you already have available to you. Before you go out and buy a bunch of stuff for your new workspace, you should first set a budget. If you don’t keep track of what you’re spending, you could end up spending more than you can afford on all the latest gadgets or tools.
Create an Equipment List
Once you have a budget you can start planning out exactly what you need to get. You should write down a list of all the tools and other equipment you need to complete your DIY projects. For example, if you like to make furniture out of wood, you may need a circular saw, a lathe, a cordless drill, etc. After you write everything down that you need, you should order the list from highest priority to the lowest. As you’re shopping for equipment, you’ll want to keep your budget in mind and focus on the most important equipment pieces first. Then over time you can get the additional stuff you need so that you don’t spend too much all at once.
Save Money Where You Can
There are a few ways that you can save money while building your DIY workshop. One way is to rent the tools you need rather than buying them. If you only plan to use a tool a few times, and it’s rather expensive, you can look for a place to rent it instead. Another option is to get used equipment. Through places like Machinery Network you can get significant discounts on equipment that has been used before. You’ll of course want to make sure that anything you buy is in good condition, but buying used equipment is a great way to save money when trying to assemble all the stuff you need.
Make it Safe
Finally, it’s important that you make sure your new workshop is safe. Sometimes working on DIY projects can come with some risk, so you’ll want safety features in place to help prevent injuries. For example, you should have a first aid kit stored nearby, a fire extinguisher, a smoke alarm, a carbon monoxide detector, and a quick way to shut off power to any tools. If you’ll be plugging a lot of things in, make sure you use a surge protector and that you don’t overload your home’s system. Finally, make it a priority to keep your workspace clean, as loose tools or materials can often lead to an accident.
Make a Workshop Your Next DIY Project
Once you have a dedicate spot within your home to work on DIY projects, you’ll wonder how you ever completed projects anywhere else. Building your workshop is a rewarding experience in of itself and it will provide you with plenty of enjoyment going forward. We hope this guide was able to shed some light on how to start building your own workshop and that before long you’ll be building even bigger and better DIY projects. Enjoy!
 Gearfuse Technology, Science, Culture & More

