IoT (Internet of Things) devices are growing in popularity each year. These are devices that connect to the internet to provide a higher degree of functionality. Think of your watch that can now download up-to-date weather information or the smartphone apps that let you control the temperature in your home or unlock your car. If you’re interested in building your first IoT device, below are the basic steps to get it done.
Planning Your IoT Project
Start by planning out your IoT project. First, you’ll want to have an idea. What is it you’re looking to create, and how would it benefit from connecting to the internet? Come up with a solid purpose for your device and how you intend for it to function.
In addition to these basics, you should also think about your available budget, the tools you’ll need to complete the project, and if there is a timeline you need to meet. The more time you spend planning out your IoT project, the smoother the rest of the process will go. You may be able to save yourself a considerable amount of time and resources by figuring out some issues now in your mind rather than after you’ve purchased things you no longer need or gone down a construction path that won’t work.
Gather the Necessary Components
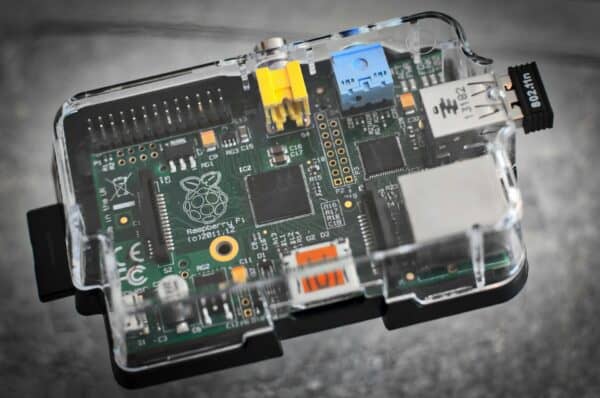
After you’ve made your plan, you can then begin assembling the necessary components. What you need will vary from project to project, but there are a few common components among a lot of IoT devices. For example, you’ll likely need some kind of microcontroller/microprocessor, such as an Arduino or Raspberry Pi. This will be the hub of your IoT device and control how it functions.
From there, you’ll likely need different sensors and actuators to trigger the device. Common components include light sensors, audio sensors, heat sensors, RF isolators, capacitors, and transistors. Next, you’ll need a way for your device to communicate, which typically involves either Wi-Fi or Bluetooth. The last thing you’ll need for your device is a power source, which could include a power adapter, battery, solar panel, etc.
Build the Hardware
Once you have the parts and tools gathered, you can then begin to put your device together. Start by assembling your microcontroller and attaching all the necessary sensors. Connect your various components using wires and breadboards as necessary. As you’re putting everything together, test out the hardware connections to ensure everything is functioning properly. If there are space requirements for your device, make sure everything can operate correctly within the specified space.
Write and Upload the Code
With the hardware assembled, the next step is to write the software code that tells the hardware how to operate. To do this, you’ll need to first select the programming language you want to work with, with common options being Python or C++. If you don’t know either of these languages already, there are tutorials online that can assist you, but you’ll likely need to spend a considerable amount of time learning the language before you can apply it to your specific project.
Once you’ve got a handle on the chosen language, begin testing out your hardware by writing simple programs that control the sensors and actuators. From there, you can make the program more advanced until it behaves the way you need it to. Think about each of the features you want your device to have and how you can accomplish those via code. For instance, you may want a device that uses dynamic IP addressing, or that automatically downloads information from the internet each day.
Test, Debug, and Improve
After you have written the code, it’s time to test it out. Run tests on your device, trying to use it in different ways to see how it responds. As you encounter hardware or software issues, troubleshoot the problem and implement a solution.
During this time, you should also look for ways to improve your device. For example, you may find ways to improve power consumption to increase battery life or optimize performance so that your device runs faster.
The goal is to work out all the kinks with your device. Intentionally try to “break” the device by using it in unexpected ways. This way, you can prevent errors before someone else encounters them by using the product incorrectly.
Deploy Your Device
With all the testing, debugging, and improving done, you can finally deploy your device. Assemble the final version and upload the finalized code. Set your device in its intended area and observe how it functions. As time goes on, gather some feedback on the device and make notes for potential improvements. It’s often through the use of a device that we gain new ideas about how to make a better version, which will be your next project.
 Gearfuse Technology, Science, Culture & More


