Music enriches our daily lives, providing extra relaxation and joy when commuting, exercising, doing housework, etc. Unsurprisingly, sometimes you might get your beloved music on your computer, and want to transfer music to your iPhone. We will offer 3 effective methods for effortless transfer in this blog post. Keep reading to discover how you can keep listening on the go with your iPhone.
Way 1. Import Music to iPhone from Computer via Data Transfer Tool
FonePaw iOS Transfer is a distinguished file manager that helps you transfer a variety of files including videos, contacts, SMS, etc. among iOS devices, Mac computers, and Windows computers. It works particularly efficiently for transferring music to your iPhone with the support of almost all audio formats like MP3, AAC, MP2, WAV, WMA, M4A, M4V, OGG, FLAC, and so on. What’s more, it has no limits on quantity. You can add as many tracks as you want at a time.
Let’s learn how these highlighted features make your music transfer a breeze.
Step 1. Download, install, and launch FonePaw iOS Transfer on your computer.
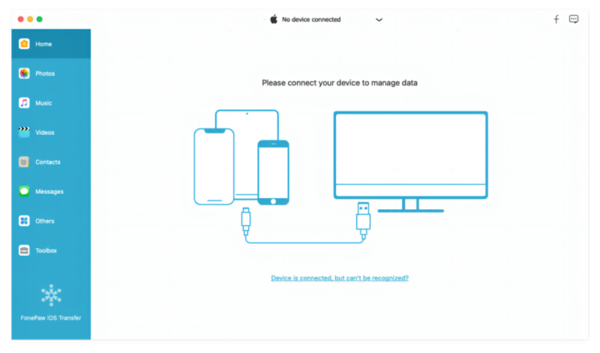
Step 2. Connect your computer and iPhone with a USB cable. Wait for a few minutes till a pop-up shows up to tell you they are connected.
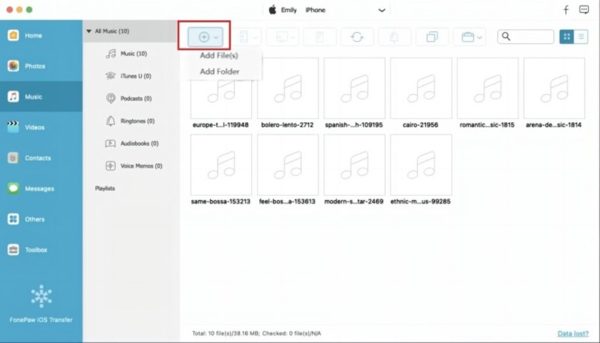
Step 3. Click “Music” on the left column, all music on your computer will be displayed. Then click the “+” icon, select “Add Files(s)” or “Add Folder”, and tick all the tracks you want to transfer to your iPhone.
Way 2. Import Music to iPhone from Computer via iTunes
Seamlessly integrated with Apple’s ecosystem, iTunes is trusted by many for music transfer, though it has some drawbacks. Firstly, the transfer feature is not supported by a computer running Windows 7/8. Also, the syncing might be too complicated for a beginner. For example, you have to create a playlist in the iTunes library if you want to transfer selected songs. And if you delete music from the computer, syncing will overwrite existing music on the iPhone. Here are steps you can follow to import music to your iPhone with iTunes for free.
Step 1. Launch the latest version of iTunes on a Windows computer or open “Finder” on Mac (MacOS 10.15 or later).
Step 2. Connect your iPhone to the computer with a USB cable.
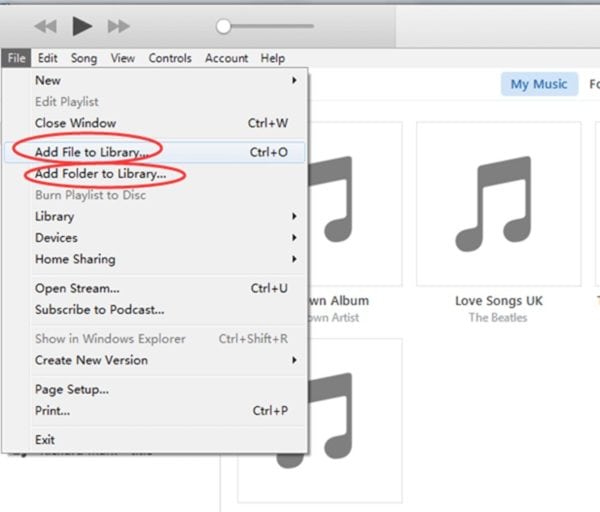
Step 3. Import your music to iTunes first if it is not on iTunes. Click “File” and select “Add File to Library” (or “Add Folder to Library”). You can skip this and move to the next if the music is already on iTunes.
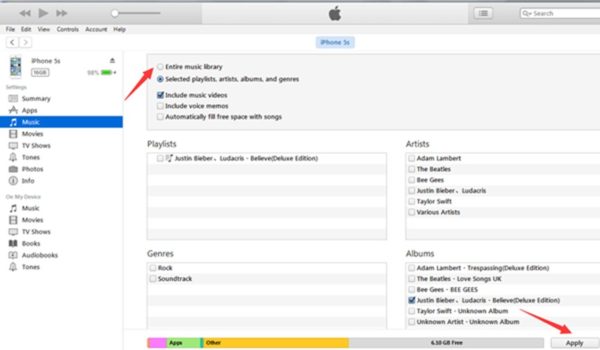
Step 4. Click the “Phone” icon, navigate to “Music”, and select “Entire music library“. You can also tick up “Selected playlists, artists, albums, and genres” for the transfer. Finally, remember to click “Apply”, then the sync will start. After it finishes, you can enjoy the tunes on your iPhone.
Way 3. Import Music to iPhone from Computer via Cloud Service
Cloud services like iCloud, Google Drive, Dropbox, etc. provide a seamless way to store and access files across multiple devices. It never requires a USB cable and can be used as a wireless way to import music to an iPhone.
However, it is also the riskiest aspect. Instead of a cable, it requires a stable and fast internet connection for uploading and downloading files. When the connection is unavailable, dealing with multiple songs is likely to be time-consuming. Taking Google Drive as an example, we will show you how to transfer music to an iPhone from your computer via cloud services.
Step 1. Launch Google Chrome on your PC, click the “Google apps” icon (next to “Google Account”) at the top-right corner, and select “Drive”.
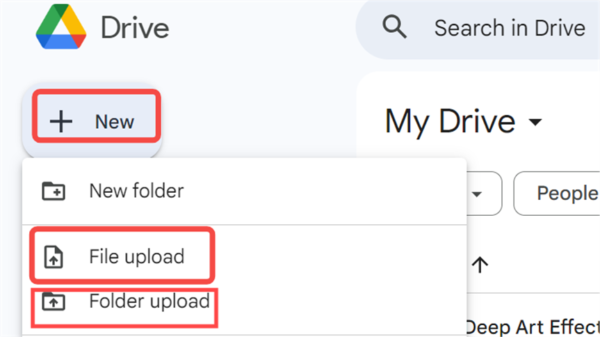
Step 2. Click “New” on the upper-left. Select “File Upload” to upload music one by one, or you can put all music into one folder and select “Folder Upload”. Then browse to confirm the file/folder you want to transfer.
Step 3. Launch Google Drive and log in with the same account on your iPhone. Then navigate to the uploaded files, tick up the song you want to download, and right-click to find the “Download” button.
Conclusion
Importing music from your computer to your iPhone can be easy with a suitable tool. Developed by Apple, iTunes is the official software you can trust, though the process would be a bit complex for a beginner. Cloud services, which make wireless transfer come true, would be a perfect solution when a speedy and stable connection is guaranteed.
Using a dedicated data transfer tool like FonePaw iOS Transfer also offers significant benefits. As a professional tool, its concise user-friendly interface ensures simple operation. You can transfer iOS files to iPhone/iPad/Windows PC/Mac effortlessly in no time. Besides, you can also preview, move, add, or delete the music directly on the computer. Can’t wait to experience how effortlessly you can manage and transfer your music collections to an iPhone? Download FonePaw iOS Transfer now!


